Introduction
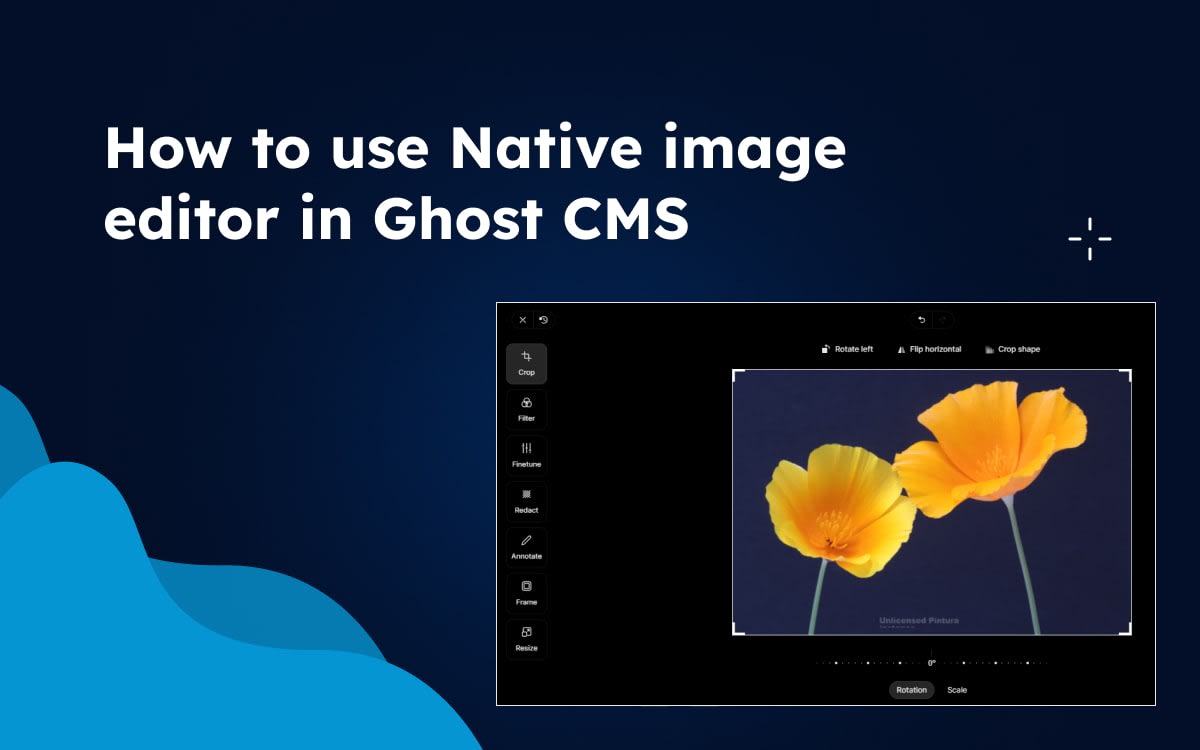
Ghost CMS is coming up with a new feature Native image editor that allows you to make quick and easy adjustments to your images without having to leave the Ghost editor. This is a great time-saver, especially if you're not a professional photographer or graphic designer. In this blog, I will show you how to integrate and use a native image editor in the Ghost admin panel.
You will learn from this Blog:
- Introduction
- How to use an image editor in ghost CMS?
- When do we use it?
- Benefits of using the native image editor
- How to integrate Pintura in Ghost CMS?
- Summary of the blog
- Frequently ask and Question
How to use an image editor in ghost CMS?

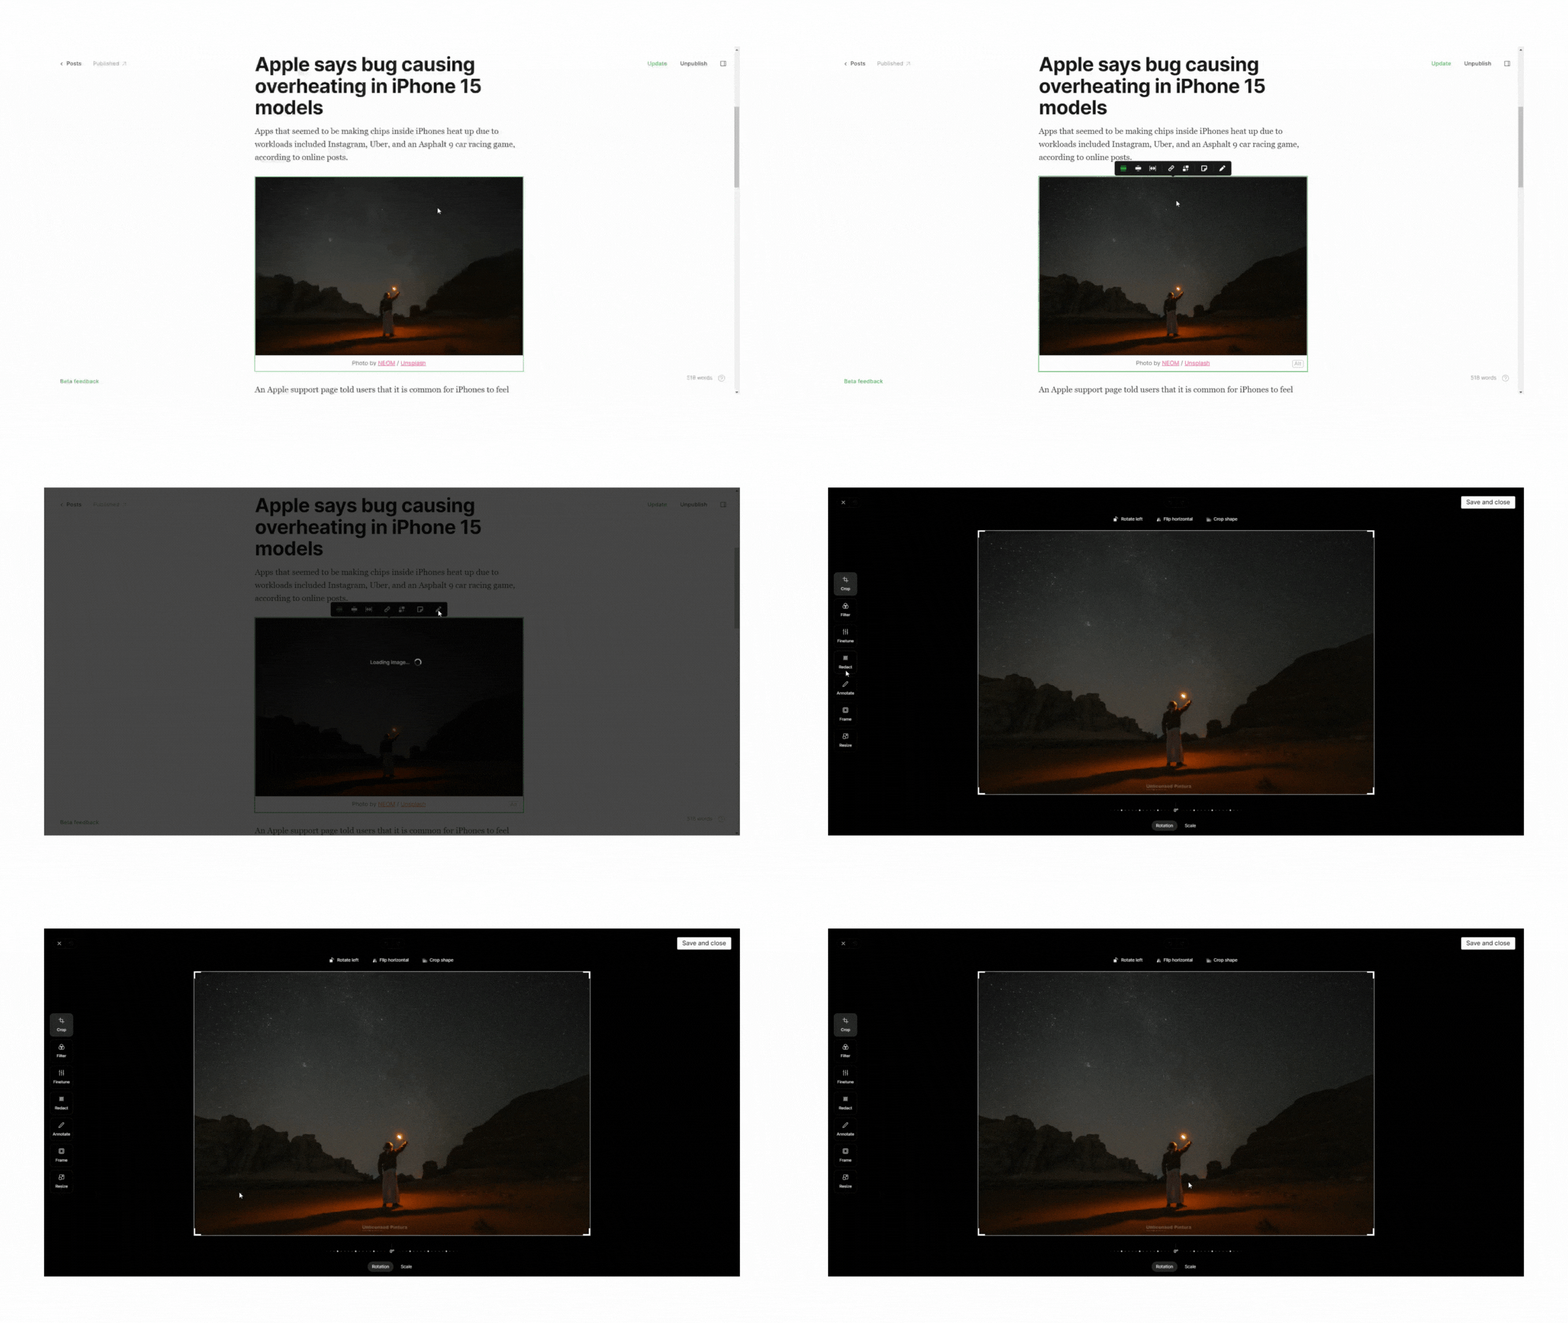
To access the native image editor, simply upload an image to your post or page and click on the image you can see open some options now click on the pencil icon that you can see top of the right side of your image. This will open the image editor in a new popup window, where you can make adjustments such as:
- Cropping
- Resizing
- Rotating
- Adjusting brightness, contrast, and saturation
- Applying filters
- Adding text and annotations
Once you are finished editing your image, click on the "Save and close" button to apply your changes. The updated image will be inserted into your post or page automatically.
When do we use it?
Sometimes you might perfectly upload a photo to a post and if you want to change a little bit in your post photos like a simple crop and a filter. Then you need to open your past downloaded image in the editor make the changes and export it, then again upload it to your post. This process is too boring, To solve this problem ghost comes with the new feature native image editor to edit your photo very easily. For this reason, you should use Ghost native image editor.
Simple edits are very easy in this editor, if you want to add more powerful annotations and adjustments that’s also is too possible. For example, if you want to publish your content with screenshots, you might want to highlight certain areas.
Benefits of using the native image editor
The native image editor in Ghost CMS is powered by Pintura, a powerful online image editing tool. This means that you have access to a wide range of features and tools, even if you're not a professional image editor. By using the native image editor. You can optimize images for your Ghost blog. To ensure faster loading times and a better user experience.
Here are some of the benefits of using the native image editor in Ghost CMS:
- Save time: You can make quick and easy adjustments to your images without having to leave the Ghost editor.
- Improve the quality of your images: Even if you're not a professional photographer or graphic designer, you can use the native image editor to make your images look their best.
- Increase engagement: Well-edited images are more likely to capture the attention of your readers and keep them engaged with your content.
Overall, the native image editor in Ghost CMS is a great new feature that can help you improve the quality and engagement of your content. To further enhance user engagement, you might also want to set up Cove Comment on Ghost, allowing readers to interact with your content directly.
How to integrate Pintura in Ghost CMS?
This integration is only for those who are using self-hosted Ghost or if you are a Ghost pro user then you don’t need to integrate it because it is automatically enabled and included with every plan for free. If you're looking to enhance your blog further. You can also customize your Ghost theme with code. To create a fully personalized design and improve functionality.
So now I will show you how to integrate pintura integration in your self-hosted Ghost.
integrate Pintura in Ghost CMS
To integrate Pintura in Ghost CMS, you will need to:
- Purchase a Pintura license Download the Pintura integration files from your Pintura account and extract the files.
- Now, Log into your Ghost admin panel and Go to the
Settings > Labspage. - Go to the Ghost editor (beta) section then click on the toggle button to enable it.
To upload the Pintura integration files:
- Go to the Integrations page from your Ghost dashboard and you can see Pintura below the integration list.
- Click on the configure and Upload Pintura script (pintura-umd.js) and Styles (pintura.css)
- When completing upload Click the Save button.
Summary
Overall, the native image editor in Ghost CMS is a powerful tool that can help you improve the quality and engagement of your content. Along with using the image editor, don’t forget to add post metadata in Ghost CMS to improve search engine visibility and content organization. With a little practice, you'll be able to use the image editor to create beautiful and informative images for your blog posts and pages.
FAQs
Do you have any questions about using a native image editor in Ghost CMS? We have answers to some frequently asked questions on the topic.
What is the native image editor in Ghost CMS?
The native image editor in Ghost CMS is a built-in tool that allows you to make quick and easy adjustments to your images without having to leave the Ghost editor. It is powered by Pintura, a powerful online image editing tool.
What are some tips for using the native image editor in Ghost CMS?
Here are some tips for using the native image editor in Ghost CMS:
- Use the crop tool to remove unwanted elements from your image.
- Adjust the brightness, contrast, and saturation of your image to make it look its best.
- Use filters to add a unique look to your images.
- Add text and annotations to your images to highlight important information or provide additional context.
Do I need to have any special skills or knowledge to use the native image editor?
No, you do not need to have any special skills or knowledge to use the native image editor in Ghost CMS. It is designed to be user-friendly and easy to use, even for beginners.
Post You May Like!
- How to install a ghost theme in your ghost admin panel– Learn the simple process of installing a new theme in your Ghost admin panel to enhance your website's design and functionality.
- How to Use Ghost Themes to Grow Your Business– Discover how to choose and customize Ghost themes to build a business-focused website that boosts your brand’s visibility and conversion rates.
- How to Customize Your Ghost Theme Using Code Editor– Explore how to use the code editor in Ghost CMS to make advanced customizations to your theme, tailoring it to your unique business needs.
- Step-by-Step Guide: Installing Ghost on Your Local Computer– Follow this detailed guide to install Ghost CMS on your local machine, allowing you to develop and test your website before launching it live.
- Ghost CMS editor features– Learn about the latest Ghost CMS editor features that enhance the content creation experience, making it easier to manage and publish your website.
