In the digital age, email newsletters have proven to be an effective tool for content creators, bloggers, and businesses to connect with their audience. Ghost CMS is a powerful content management system that makes it easy to create and publish blogs, websites, and newsletters. In this blog post, we will show you how to send an email newsletter in Ghost CMS.
Overview of content, In this blog you will learn:
- Relation of Ghost with Mailgun
- Setup Mailgun with Ghost
- How to send an email newsletter in Ghost CMS
- How to customize your newsletter template
- Some Tips for writing a good email newsletter
- Summary of the post
- FAQs
Relation of Ghost with Mailgun to Send an Email Newsletter
Sending your email newsletter with Mailgun is a very easy process. Ghost is an easy-to-use content management system and Mailgun is a straightforward email delivery service. However, transforming a basic Ghost website into a successful automated system is a crucial step in a broader process. Discover how to create a successful membership website using Ghost CMS for comprehensive insights.
You can easily design and deliver attractive newsletters that successfully engage your subscribers. The detailed procedure to start a ghost newsletter campaign for your blog is provided below.
Prerequisites
Before you can send an email newsletter in Ghost CMS, you need to have the following:
- A running Ghost blog with enabling Email Newsletters and Member Features
- A mail provider, such as Mailgun
To send an email newsletter in Ghost CMS, follow these steps:
Step #1: Setup Mailgun with ghost
Step #2: Send Email Newsletters with Ghost
Step #3: Customize your Newsletter Template Design
Step #4: Setting the Default Newsletter Recipients
Step #5: Set up the Newsletter Sender Email Address
Step #6: Start Writing Newsletter Content
Step #7: Start Sending Newsletter
Setup Mailgun with Ghost
If you want to send the email newsletter to your audience, then first you need to integrate and set up Mailgun with your ghost blog. Basically, Ghost by default uses the Mailgun service to send email newsletters.
Send Email Newsletters with Ghost
After Completing the setup of Mailgun with your Ghost Dashboard, you should make sure the email option is active in your Ghost Dashboard. Here are some steps to follow to enable the email newsletter-sending option.
- Login to your Ghost Admin Panel.
2. Click on the Settings icon, then click on the Email Newsletter Menu.
3. Now you can see the email newsletter sending option, if you see it is off then click on it to enable it.
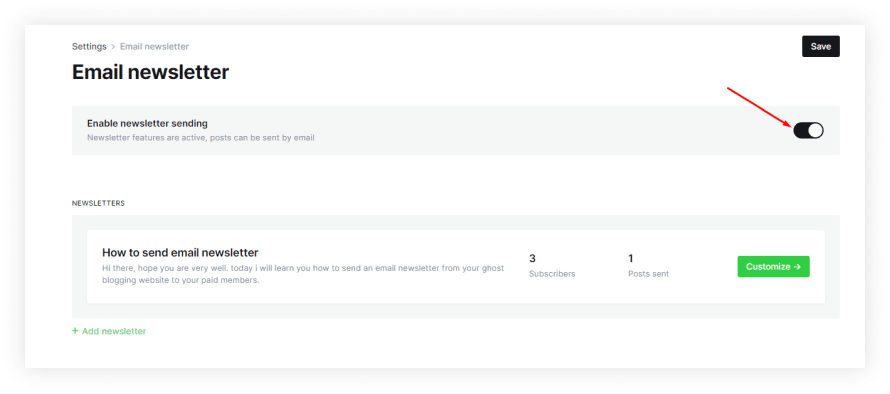
After enabling the email newsletter option, you will be able to create and send email newsletters to your subscribers.
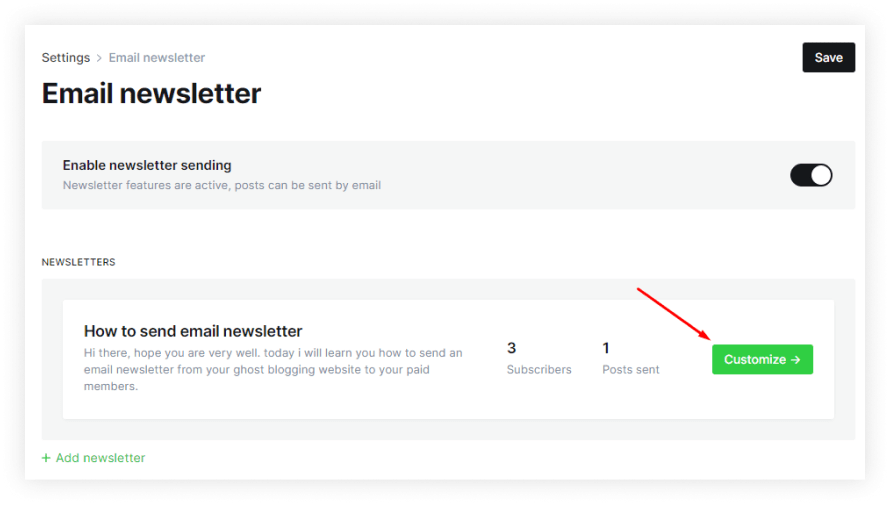
Customize Your Newsletter Template
If you want to change your newsletter template design then you can customize it. To customize the template, click on the Customize Button, then open a window where you can see the edit newsletter options.
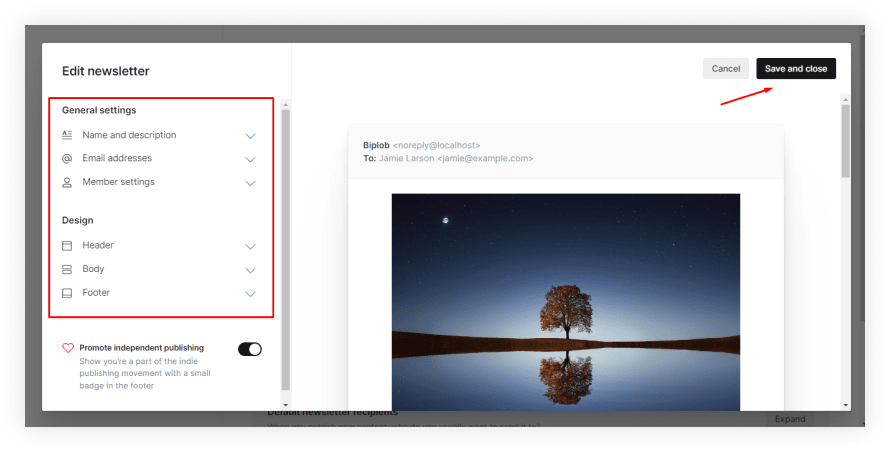
From these edit options, you will find some limited options to personalize the design and color. You can set things like newsletter Header, Footer, Body, Newsletter name, and description, etc.
You can also set the member types who can access your newsletter and specify the sender address. Additionally, you may want to customize portal settings in Ghost CMS to enhance the membership experience. Customizing the portal allows you to adjust branding, modify sign-up flows, and set up different access levels for free and paid subscribers. After making your customization, simply click on the Save and Close button to apply the changes.
Setting the Default Newsletter Recipients
In the Ghost CMS, there are three types of users:
- Regular users/non-members (Those who don’t sign up)
- Free Members (Those who sign up)
- Paid Members (Those who take a premium subscription)
You have the choice to decide who will automatically get your newsletters. Select the desired user type from the dropdown menu in the section titled "Default newsletter recipients". A well-crafted newsletter can drive interest in your content and encourage subscribers to upgrade to paid tiers on your Ghost membership website.
To set "Default newsletter recipients," click on Expand from the Default newsletter recipients section.
Set up the Newsletter Sender Email Address
By default, Ghost sets the newsletter sender's email address to noreply@yourdomain.com. If you want to use a different email address, you can click the Expand button on the Email Address option and enter the desired email address you wish to use.
Write your content to send as a newsletter
When everything is ready, Now time to start sending newsletters from ghosts. To write your newsletter content easily you can use the ghost user-friendly editor.
To access your ghost editor Click on the ‘Post’ Section from the Dashboard on the left side menu list.
After opening the Ghost editor create the proper title, set the beautiful feature image, and write the meaningful content for your newsletter.
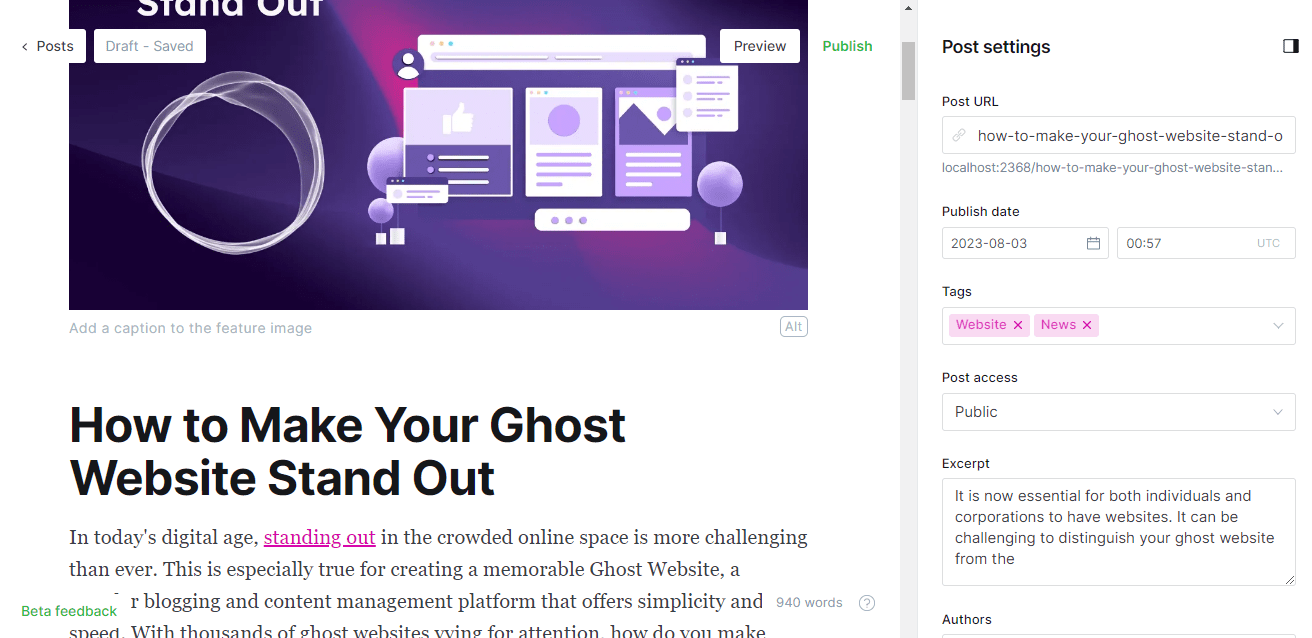
Start sending the newsletter by Publishing
When complete your content writing you need to click on the Publish button that is on the right corner of your screen. After clicking the Publish button you can look at the page below.
If you want to set a Schedule for Send Later:
If you do not want to send your newsletter Right Now then you can set a scheduled time to send it later to your subscribers.
To set the schedule time click on the Right Now option then click on the Schedule for Later button and set the time, when you want to send your newsletter, then click on Continue, final review.
So, Completing the settings now time to click on the Publish & Send, right now button. Click on it and boom.
Tips for writing a good email newsletter
Here are some tips for writing a good email newsletter:
- Keep your subject line short and catchy.
- Use a clear and concise headline.
- Write engaging copy that will make your readers want to read more.
- Use visuals to break up your text and make your newsletter more visually appealing.
- Include a call to action at the end of your newsletter, such as a link to your website or a button to subscribe to your newsletter.
Conclusion
Sending an email newsletter in Ghost CMS is a great way to stay in touch with your subscribers and promote your content. Beyond newsletters, it's crucial to promote your Ghost website effectively through SEO, social media marketing, and community engagement. A well-promoted site attracts more visitors, increases memberships, and boosts audience engagement. By following the steps in this blog post, you can easily create and send beautiful and effective email newsletters that will keep your subscribers engaged.
FAQs
Do you have any questions about sending an email newsletter in Ghost CMS? We have answers to some frequently asked questions on the topic.
Can I create and manage subscriber lists in Ghost CMS?
Yes, you can. Ghost CMS offers a "Members" feature that allows you to manage subscriber lists. You can enable this feature in the "Labs" section of your settings. Customize the subscription form, add or edit subscribers, and segment your list for targeted content delivery.
How can I design an appealing newsletter template in Ghost CMS?
Designing a newsletter template in Ghost CMS involves creating a custom HTML and CSS template. Ensure it is mobile-responsive and incorporates your brand's colors, logo, and typography for consistency. You can also use email-friendly tags provided by Ghost to dynamically insert content from your posts into the template.
How often should I send email newsletters?
The frequency of sending email newsletters depends on your audience and your content availability. Consistency is key, whether you choose to send newsletters weekly, bi-weekly, or monthly. Find a schedule that works for you and your subscribers, and stick to it.
Can I personalize newsletters for different subscriber segments?
Yes, Ghost CMS allows you to segment your subscriber list and personalize content accordingly. This ensures that subscribers receive content that is relevant to their interests, increasing engagement and satisfaction.
You May Like!

WordPress Expert
Biplob is a technical content writer and junior web developer passionate about creating engaging content and websites. He specializes in web technologies and loves exploring innovative solutions.
See all Articles