When it comes to creating a professional and engaging website, having the ability to manage and organize content effectively is crucial. Ghost is a popular open-source content management system, that offers a user-friendly dashboard that empowers you to create and manage your website's pages with ease. In this discussion, I will tell you through what is the process of creating pages in your Ghost website directly from the Ghost Dashboard.
Overview of content, In this blog you will learn:
- Why do pages need?
- How to Creating Pages on the Ghost dashboard?
- How to set the page template?
- Conclusion
- FAQs
Why do pages need?
Pages are an essential part of any website. Unlike blog posts, which are time-sensitive and displayed in reverse chronological order, pages are static and serve as a more permanent fixture on your website. Common examples of pages include the About Us, Contact, and Services pages. Pages provide visitors with information about your website, your brand, and the services you offer. They contribute to a well-structured website and enhance user experience.
Step-by-Step Guide to Creating Pages on Ghost
Here are some steps for creating pages on your Ghost website. If you want, you can see this video or follow the steps below.
Step-by-Step Guide
Step 1: Log in to Your Ghost Dashboard
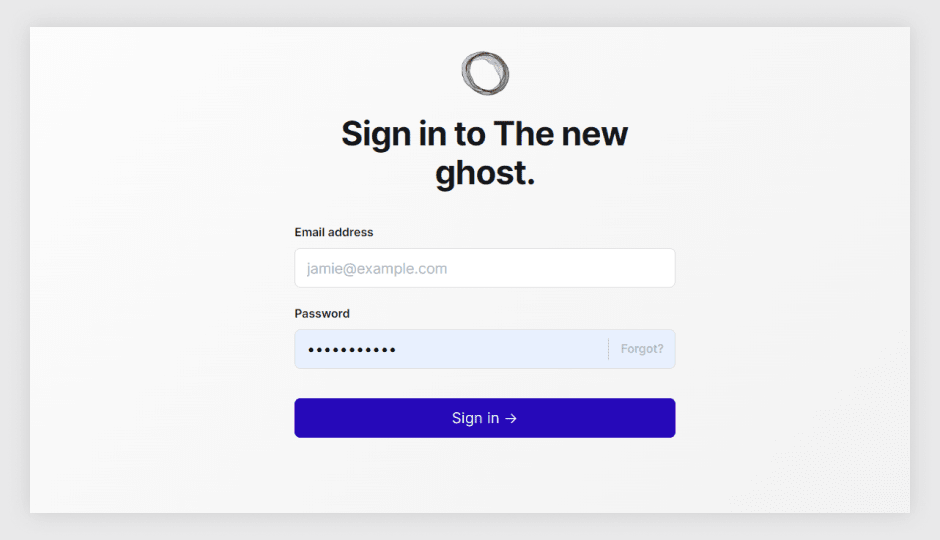
To get started, log in to your Ghost Dashboard using your admin credentials. This is where you manage all aspects of your website, including content creation, customization, and settings.
Step 2: Navigate to the Pages Section
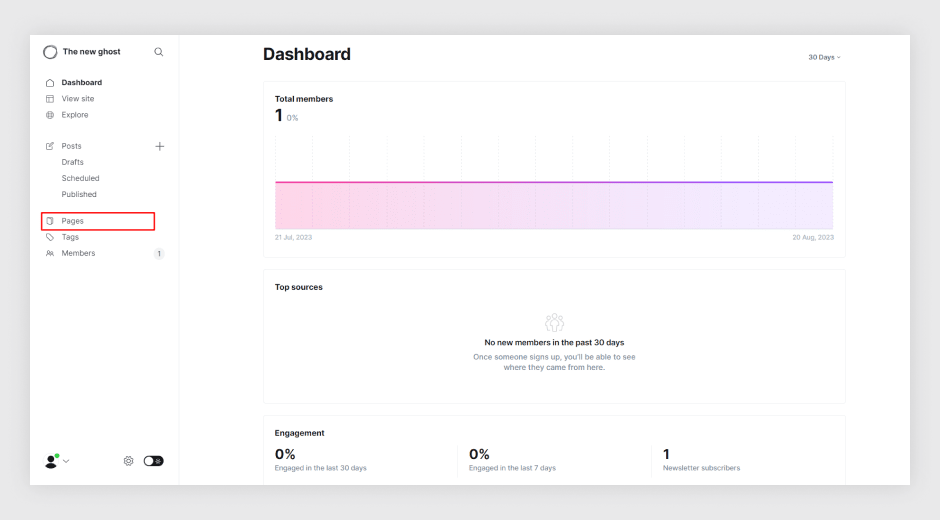
In the Ghost Dashboard, locate and click on the Pages section. This is where you'll manage all your website's pages.
Step 3: Click on New Page
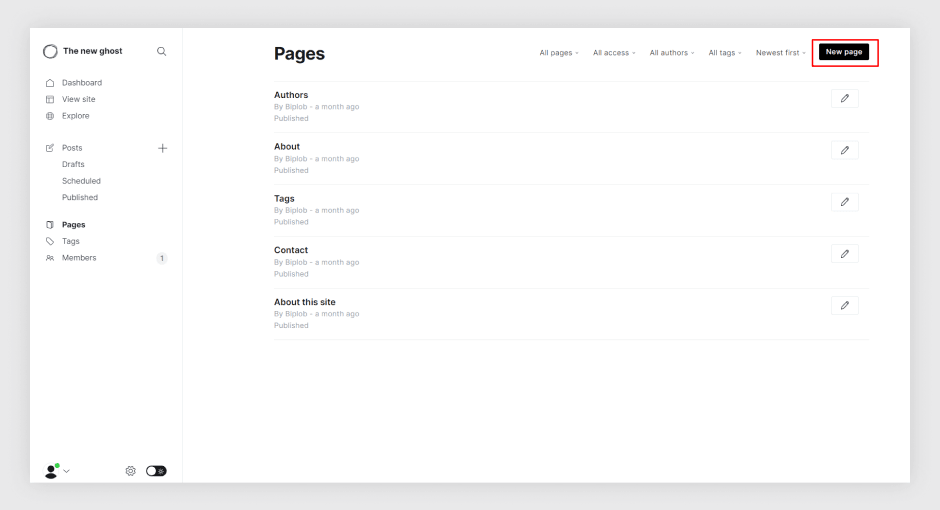
Once you're in the "Pages" section, you'll see an option that says New Page. Click on it to begin creating a new page.
Step 4: Add Page Details
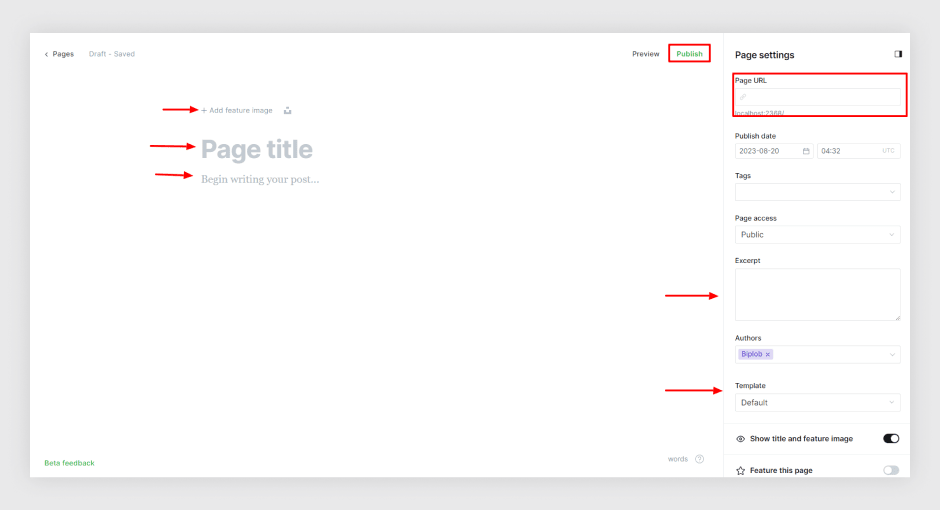
In this step, you'll need to fill in the essential details in your new page for better ranking on search engines:
Title: Give your page a meaningful and descriptive title.
URL: Ghost automatically generates a URL based on the title, but you can customize it if you prefer. Keep in mind you need to customize the URL to rank fast, remove garbage text from the URL, and make it concise.
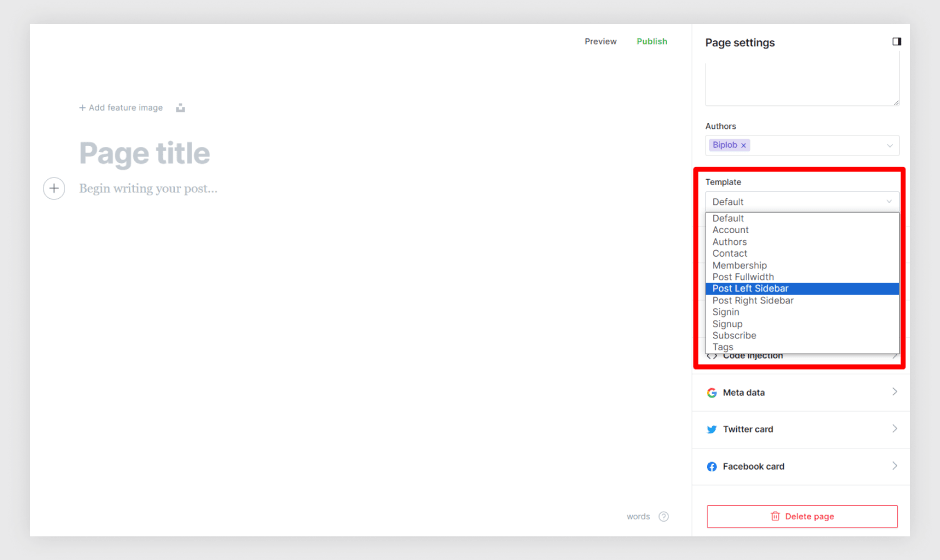
Page Template: Select the page template from the Template section. If you have a pre-designed page template then you can find here like Tag Page, Author Page, Contact Page, Sign-in, Subscribe, and Post page.
Excerpt (optional): Provide a brief summary or teaser for your page. This is especially useful if you plan to display excerpts on your website's homepage or other pages.
Content: This is where you'll create the main content of your page. Ghost offers a user-friendly editor that allows you to format text, add images, embed videos, and more.
Step 5: Configure Settings
On the right-hand side of the page editor, you'll find additional settings you can configure:
Page Settings: Here, you can choose whether to publish the page immediately or save it as a draft on the ghost dashboard. You can also set a custom publication date.
Feature Image: Select a featured image for your page. This image can enhance the visual appeal of your page when shared anywhere.
Page Visibility: Choose whether the page should be visible on your website's navigation menu. You can also set the page as a Featured page, which might display it more prominently if your current theme supports a featured section. If you want more control over the appearance of your pages, you can modify Ghost themes using the code editor. Ghost provides a built-in code editor that allows you to tweak HTML, CSS, and Handlebars templates, enabling deeper customization beyond the default theme options.
Step 6: Preview and Publish
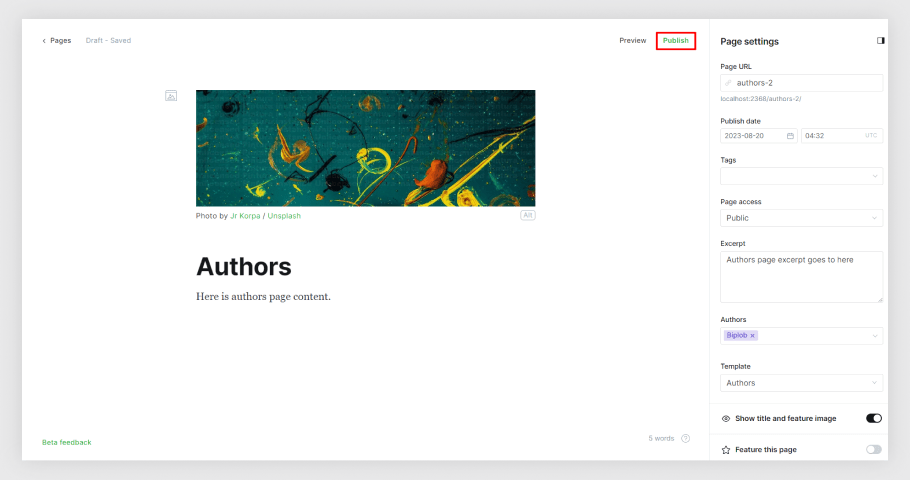
Before finalizing your page, it's a good idea to preview how it will appear to your visitors. Ghost platform provides a preview option that allows you to see your page as it would appear on your live website. If everything looks good, hit the Publish button to make your page live.
Step 7: Organize Your Pages
As you create more pages for your website, you might want to organize them into categories or sections. If you’re switching from another platform, you can migrate content from WordPress to Ghost using Ghost’s built-in migration tools. This allows you to seamlessly transfer your posts, pages, and media while maintaining a smooth content structure in Ghost. Ghost allows you to create custom navigation menus and arrange your pages as needed.
Conclusion
Creating pages in your Ghost website from the Ghost Dashboard is a straightforward process that empowers you to design a well-structured and informative website. With Ghost’s flexibility, you can build a stunning website with Ghost CMS, whether you’re running a personal blog, an online magazine, or a membership site. Its lightweight framework and intuitive content management system allow you to create high-performing, visually appealing websites effortlessly.
Pages play a vital role in conveying your brand message, providing essential information to your visitors, and enhancing user experience. To create even more engaging and visually appealing pages, check out some showcases of premium Ghost themes that are alive when real people use them.
With the user-friendly interface and powerful customization options offered by Ghost, you'll have no trouble creating engaging and visually appealing pages that make your website shine. Check out Ghost premium themes for even more customization options and features! So, go ahead and start crafting those pages that will captivate your audience and contribute to the success of your online presence.
FAQs
Do you have any questions about Creating a New page on your ghost website from the ghost Dashboard? We have answers to some frequently asked questions on the topic.
What are pages in Ghost?
Pages in Ghost CMS are static, independent pieces of content that can be used to serve a variety of purposes (Signup form, map, contact form, various cards, CTA cards, offer section, video content embedding, any file embedding, etc.). They are different from posts, which are dynamic and are typically updated regularly.
Can I customize the URL of my page?
Yes, you can customize the URL (slug) of your page anytime.
- Go to your
Ghost Dashboard. - Click on the
postsmenu. - Click on the
postthat you want to edit. - Click
settings Iconfrom the top right corner. - Now rewrite your URL from
Post URLthe field. - Finally, you did it, now click on the
Updatebutton to save your change.
How can I organize my pages?
In the Ghost Dashboard, you can organize your pages by using tags. When creating or editing a page, you'll find the Tags section in the right sidebar. By adding tags to your pages, you can create logical groupings and make it easier for visitors to navigate your content.
You May Like!

CEO and Founder
Enamul Haque is the CEO & Founder of ElectronThemes and a seasoned professional in web development. He is a top-rated freelancer on Upwork and Fiverr and an exclusive author in the ThemeForest.
See all Articles