
Ghost is a headless CMS that makes it easy to create and manage a blog. It is a dynamic and user-centric Content Management System (CMS) designed for bloggers, writers, and content creators. It has a user-friendly interface, and you can effortlessly create, edit, and manage your blog posts. In this blog post, I will show you how to create, edit, and delete a post from the Ghost dashboard.
Overview of the blog:
- How to Create a Perfect Post
- How to Edit the Post
- How to Delete a Post
- Conclusion
- FAQs
Here are the steps on how to create, edit, and delete a post from the Ghost dashboard:
Create a post
Starting a new blog post in Ghost is a straightforward process that helps you bring your ideas to life. Follow these steps to craft your content:
1. Log in to your Ghost Dashboard

To get started, log in to your Ghost admin panel using your unique credentials. Once logged in, you'll be welcomed by the Ghost dashboard.
2. Navigate to the "Posts" Section
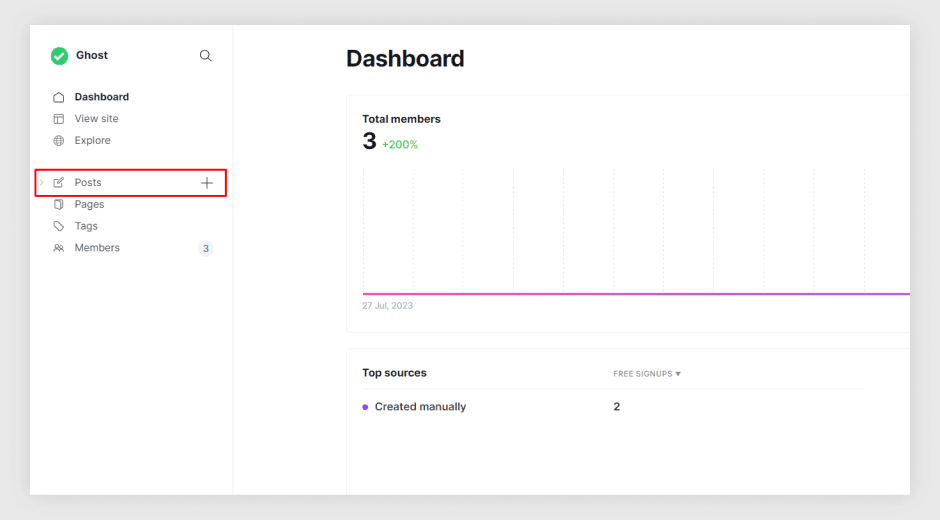
On the left-hand menu of the dashboard, click on the "Posts" tab. This will take you to the area where you can manage all your posts.
3. Click the New Post button
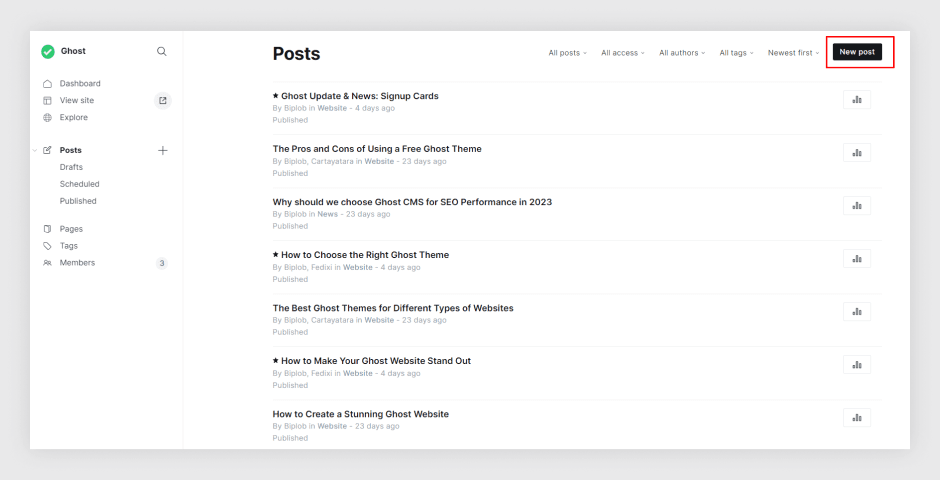
To create a fresh post, locate and click on the New Post button, usually positioned at the top-right corner of the screen.
4. Enter the title of your post in the Title field
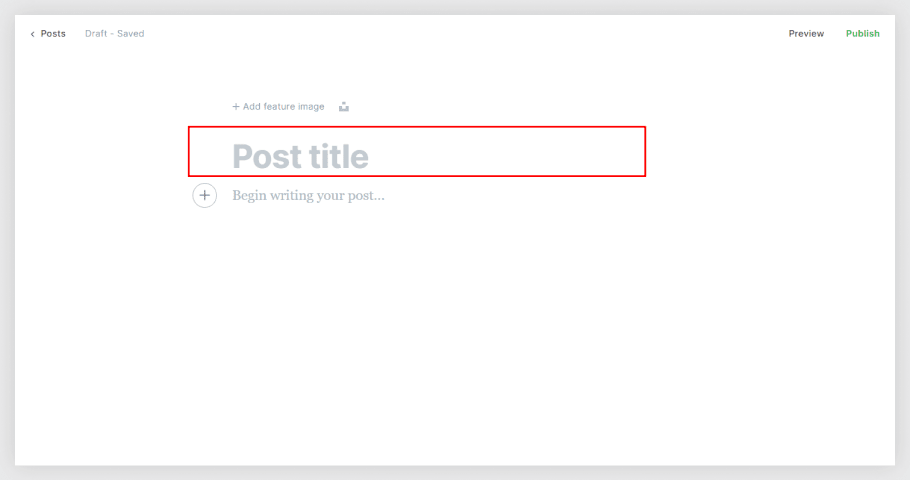
A new post editor will open up, providing you with a clean canvas to pour your thoughts into. Start by entering the title of your post in the designated field. Below the title, the editor awaits your creativity to compose the body of your post.
5. Set Feature image
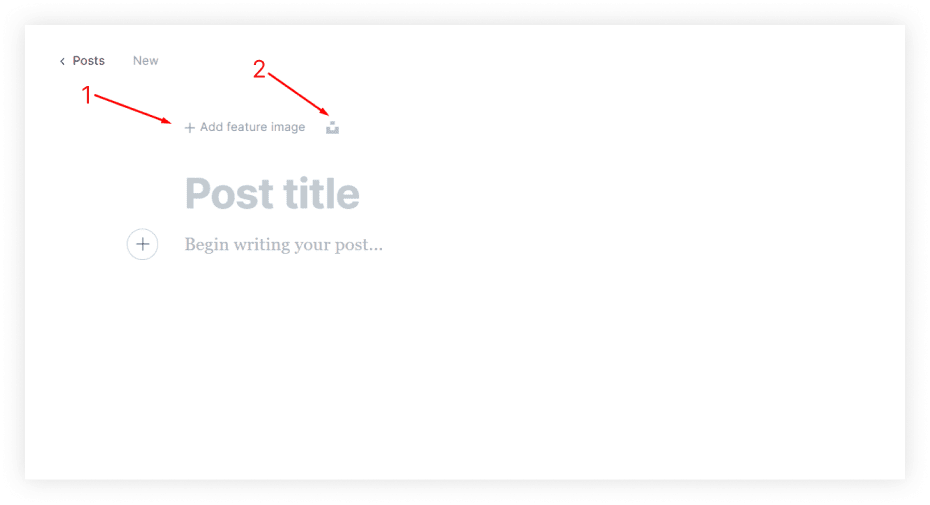
Here you can add your post feature image. You can add the image in two ways.
i. Form your computer storage
ii. From the Unsplash website.
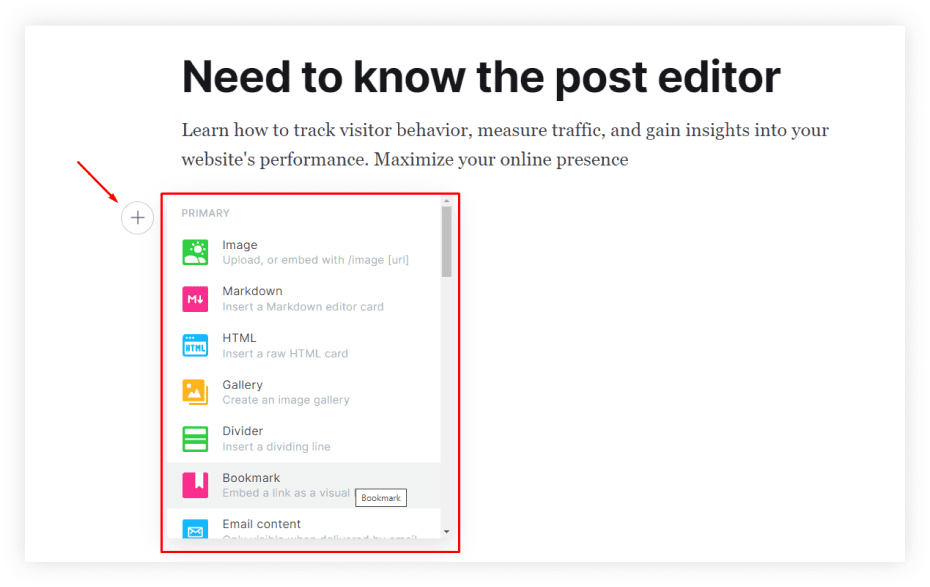
6. Add Content
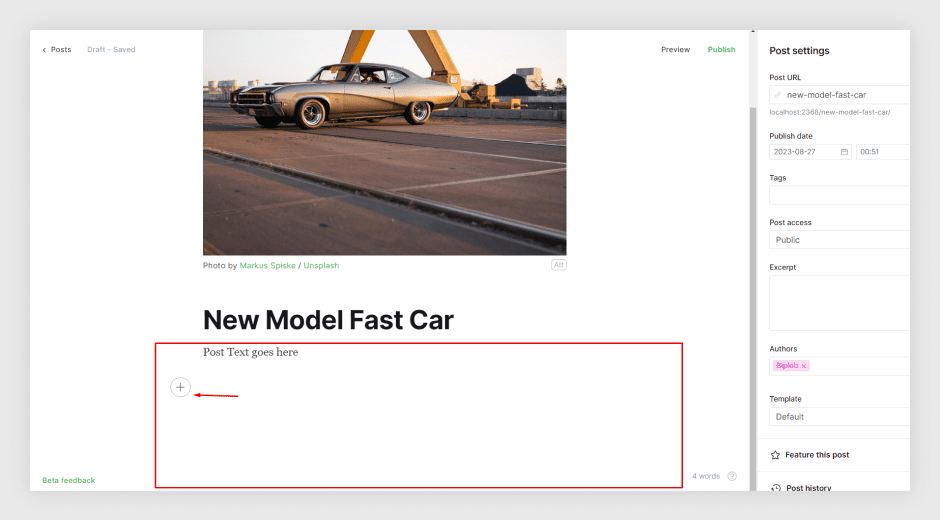
Add your content to the Body field. Here you can write text, and add images, videos, audio, etc. If you want to add media or others then click on the + icon
Enhance your posts by adding features like reading time, which helps readers decide how to allocate their time. Check out this guide on how to add and display reading time in Ghost posts in Ghost CMS blog posts.
Apply Formatting: Ghost's editor offers formatting options to make your content more readable and attractive. Utilize headings, bold, italic, bullet points, and other formatting tools to structure your post.
7. Tags
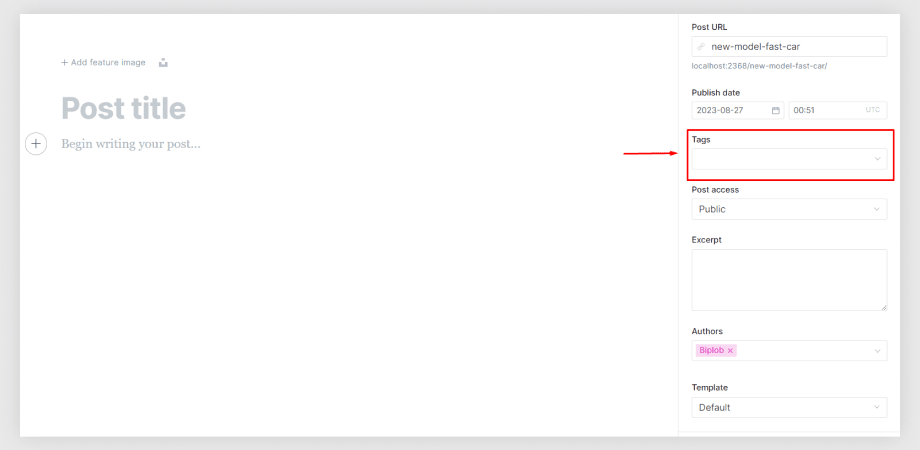
Add tags to your post by clicking the Tags button and entering the names of the tags.
8. Post Access
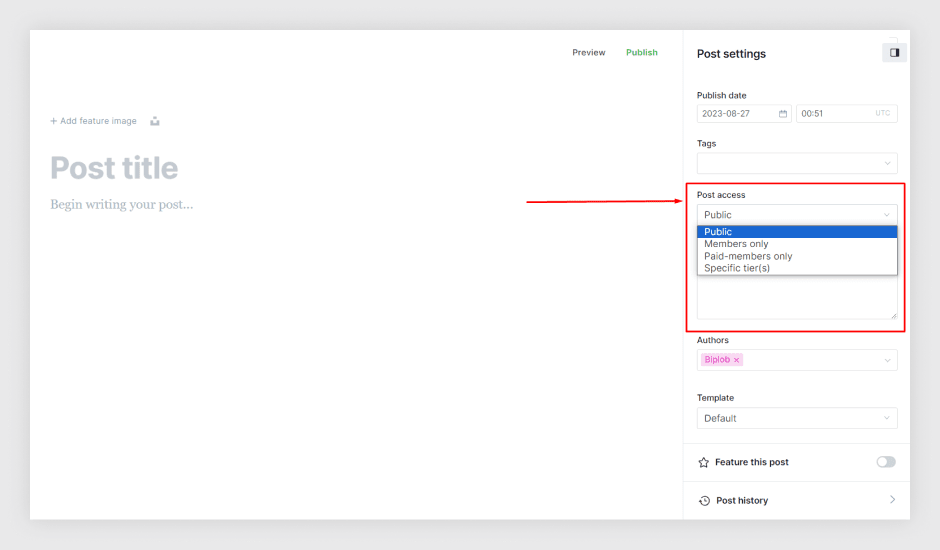
Post access is a content visibility feature you can select a post access option who can see your post.
9. Post Excerpt
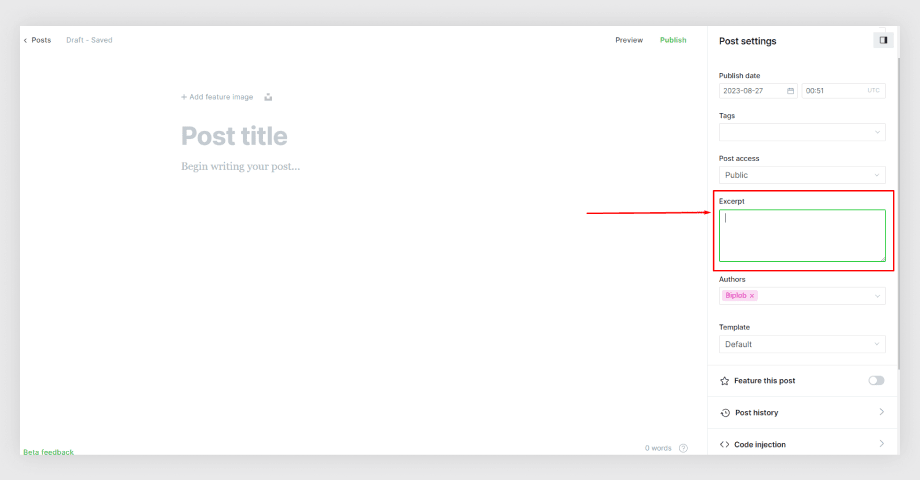
You can use post excerpts to provide a concise preview of your content, engaging readers and helping them quickly understand the article's topic and value.
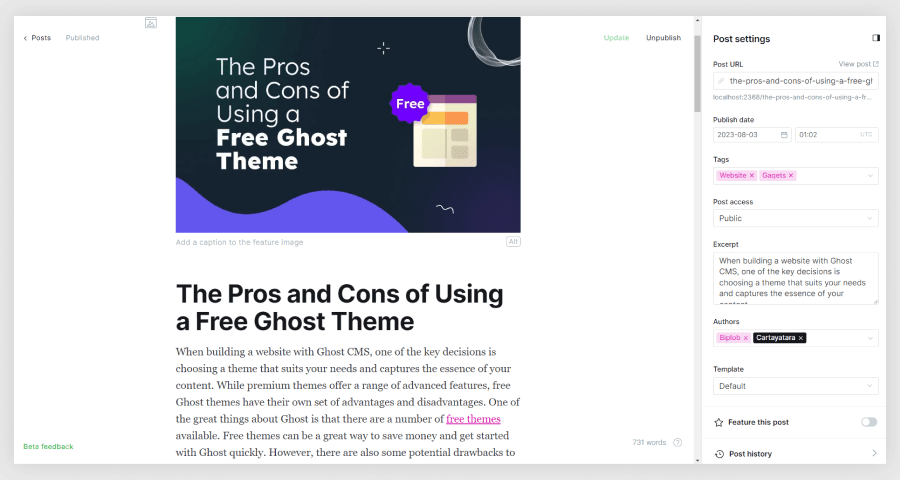
10. Authors
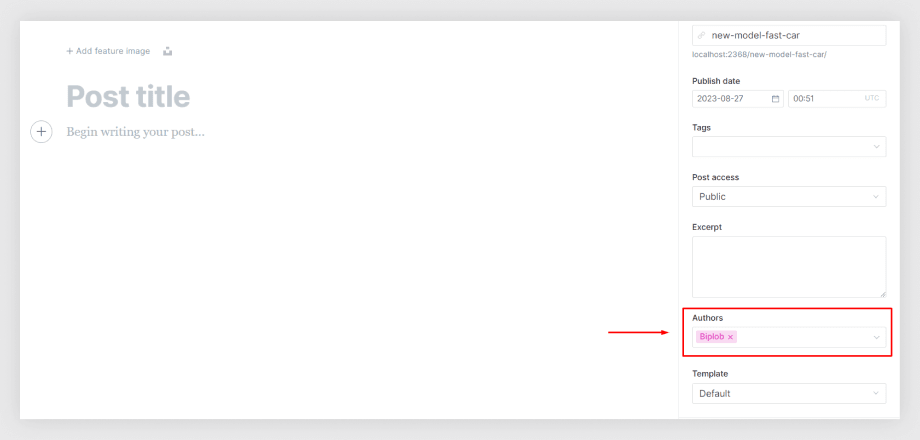
You can use this option to set post author. You can select the multi-author form here.
11. Template
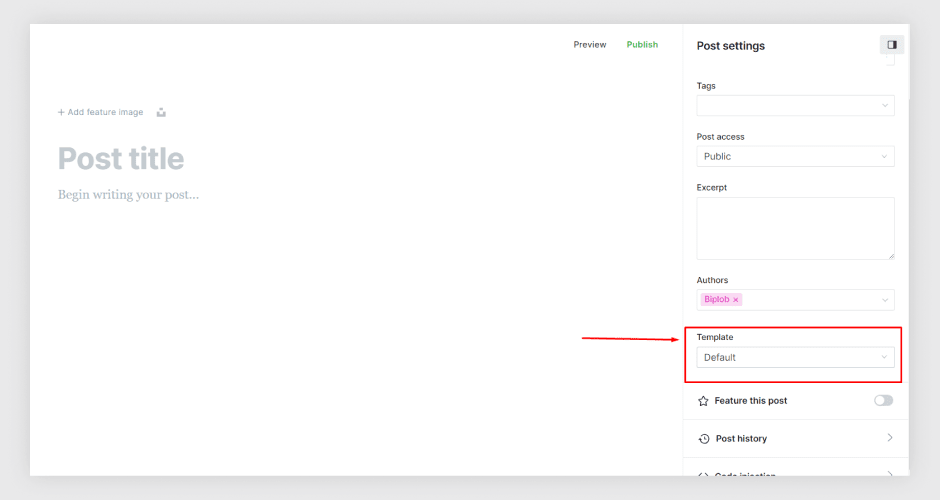
You select the post page template from here. If you have a specially designed page then that is showing here and you can select it easily.
12. Meta Data
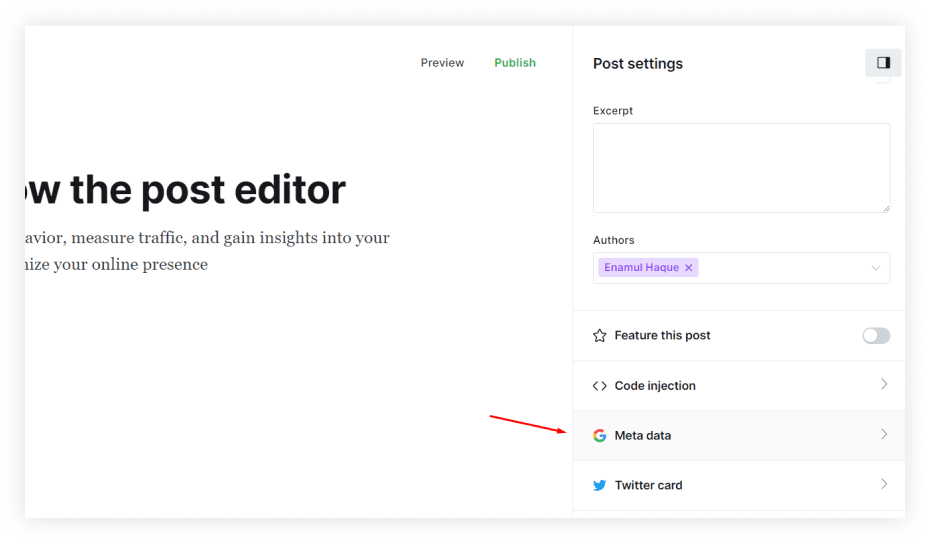
Click on the Meta post to make your blog SEO-friendly
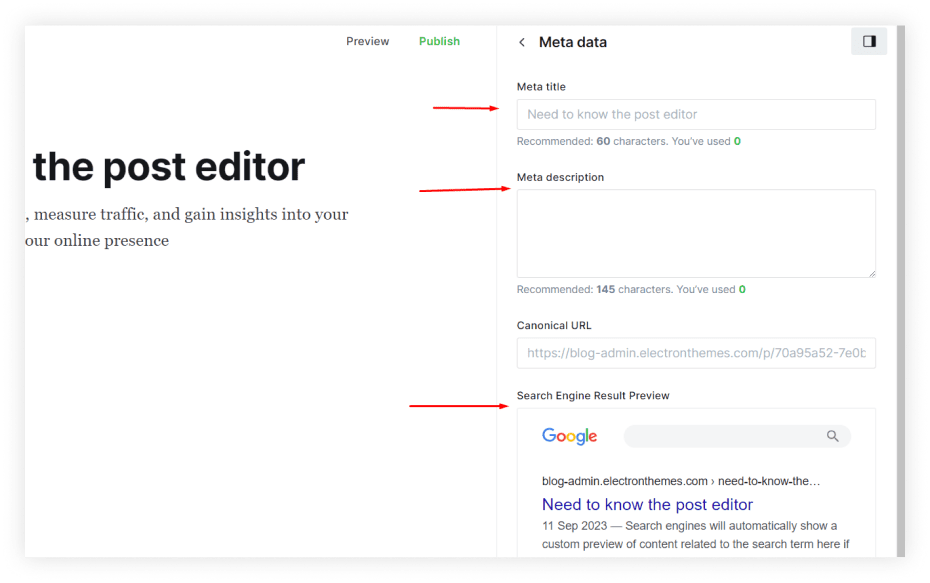
After clicking on the post meta option, open this page. You can be given here post meta title and description here. You can also see a search engine result preview.
To improve SEO and content visibility, add post metadata in Ghost CMS by carefully crafting unique meta titles and descriptions. Well-optimized metadata helps search engines understand your content, increasing your chances of ranking higher in search results.
13. Save as a Draft or Publish
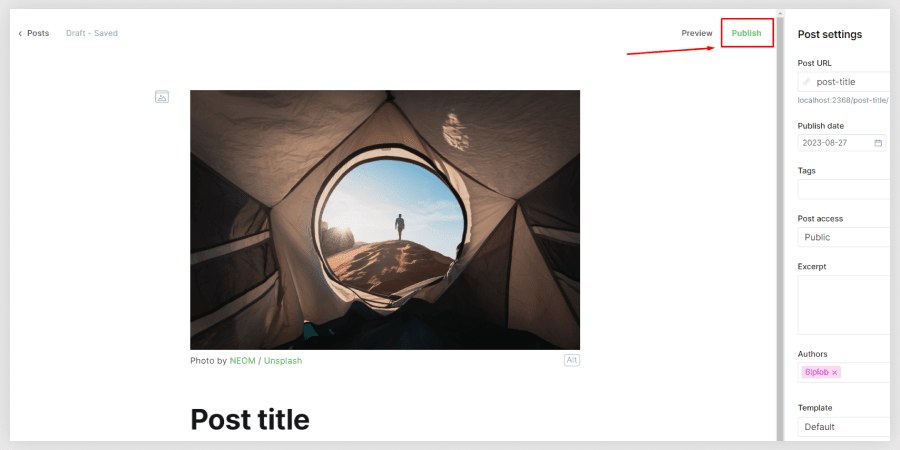
Once you're satisfied with your post, you have the option to either save it as a draft for further editing or publish it immediately for your audience to enjoy. Click the appropriate button to proceed.
Edit a post
Go to the Content section of the dashboard.

Click the name of the post you want to edit.
Make your changes to the post.
Click the Update button to save your changes.
Delete a post
Go to the Post section of the dashboard.
Click the name of the post you want to delete.
Click the Settings icon in the top right corner of the editor.
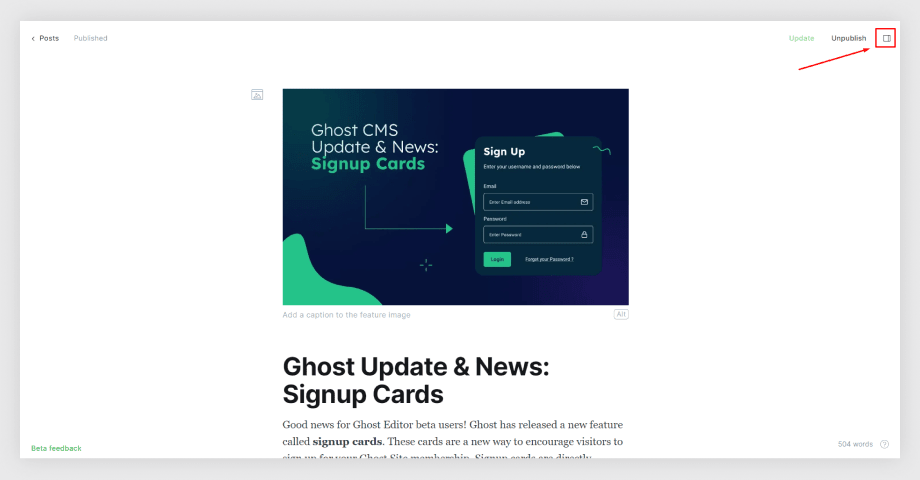
Scroll down to the bottom of the settings panel and click the Delete post link.
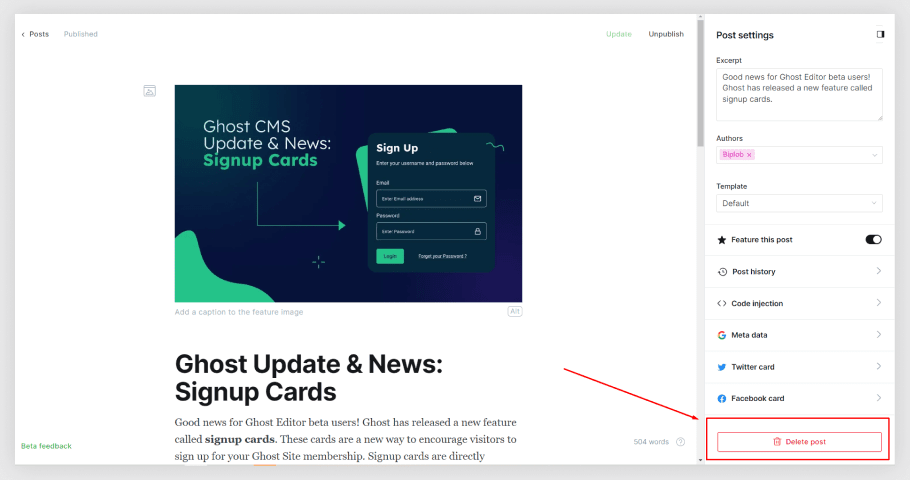
Click the Delete button to confirm the deletion.
I hope this helps! Let me know if you have any other questions.
Conclusion
Finally, mastering the skill of producing, modifying, and removing posts via the Ghost Dashboard provides content producers with a smooth and fast content management procedure. By following the instructions explained in this tutorial, users may take full advantage of Ghost's easy interface to produce interesting articles, polish their content with changes, and carefully delete old information. Additionally, once your content is live, you can send effective email newsletters in Ghost CMS to keep your audience engaged. Ghost allows seamless newsletter integration, ensuring your latest posts reach your subscribers directly in their inboxes.
FAQs
Do you have any questions about creating, editing, or deleting posts on Ghost CMS? We have answers to some frequently asked questions on the topic.
How do I edit a post in Ghost?
To edit a post, go to the Content section of the dashboard and click the name of the post you want to edit. Make your changes to the post and click the Update button to save your changes.
How do I delete a post in Ghost?
To delete a post, go to the Content section of the dashboard and click the name of the post you want to delete. Click the Settings icon in the top right corner of the editor and scroll down to the bottom of the settings panel. Click the Delete post link and click the Delete button to confirm the deletion.
What happens when I delete a post in Ghost?
When you delete a post in Ghost, it is moved to the Trash folder. You can restore a post from the Trash folder within 30 days of deleting it. After 30 days, the post will be permanently deleted.
How can I bulk-delete posts in Ghost?
To bulk delete posts in Ghost, go to the Content section of the dashboard and select the posts you want to delete. Click the Delete button to delete the selected posts.
Post You May Like

CEO and Founder
Enamul Haque is the CEO & Founder of ElectronThemes and a seasoned professional in web development. He is a top-rated freelancer on Upwork and Fiverr and an exclusive author in the ThemeForest.
See all Articles