
Consumer behavior in furniture shopping has dramatically changed. Today, potential customers browse online showrooms, compare prices, and expect sleek, responsive websites before ever stepping into a store. If you're in the furniture business and still depending only on physical stores, you're missing out on significant revenue opportunities.
The solution? Build a fully functional, high-converting furniture e-commerce website. With the right Furniture WordPress Theme, your site can become one of the best furniture websites out there, visually stunning, easy to manage, and designed to convert.
In this blog, I’ll show you exactly how to build a furniture e-commerce website that looks amazing, runs smoothly, and sells all using the powerful and easy-to-use Furnixar WordPress Theme.
Even if you’re not tech-savvy, don’t worry. We’ll keep things simple, practical, and beautiful, just like the perfect piece of furniture.
Why Do You Need a Furniture e-Commerce Website?
- Global Reach: Sell beyond your city or country
- Visual Showcase: Highlight your craftsmanship and collections with beautiful galleries
- Sales Automation: Take orders, manage inventory, and handle payments 24/7
- Brand Presence: Position yourself alongside the best furniture store websites
Whether you're a custom woodworker or a large-scale retailer, your online presence should reflect the quality and uniqueness of your products.
How to make a furniture website?
Building your furniture website with WordPress and the Furnixar Theme is quick and beginner-friendly. Here’s a short guideline to get started:
- Set Up WordPress: Purchase a domain and hosting plan, then install WordPress with one click from your hosting dashboard.
- Install the Furnixar Theme: Download the Furnixar theme and upload it on your Wordpress dashboard under
Appearance > Themes. Activate it to start customizing. - Import the Demo Content: Use Furnixar’s one-click demo import to load pre-built layouts, pages, and sections. This gives you a ready-made furniture store in minutes.
- Customize Your Website: Edit pages using Elementor, change colors, fonts, and upload your logo. Add or remove sections to match your brand.
- Add Your Furniture Products: Use WooCommerce to list products. Add product images, prices, descriptions, categories, and stock info easily.
- Configure Payment & Shipping: Set up payment gateways (like Stripe or Cash on Delivery) and define shipping methods based on your delivery area.
- Launch Your Site: Once you’re happy with the design and functionality, publish your site and share it across social media to start attracting customers.
Step-by-Step: Creating Your Furniture e-Commerce Website
Let’s break down how to launch your furniture website with the Furnixar WordPress theme.
Step 1. Get Domain Name and Hosting Server
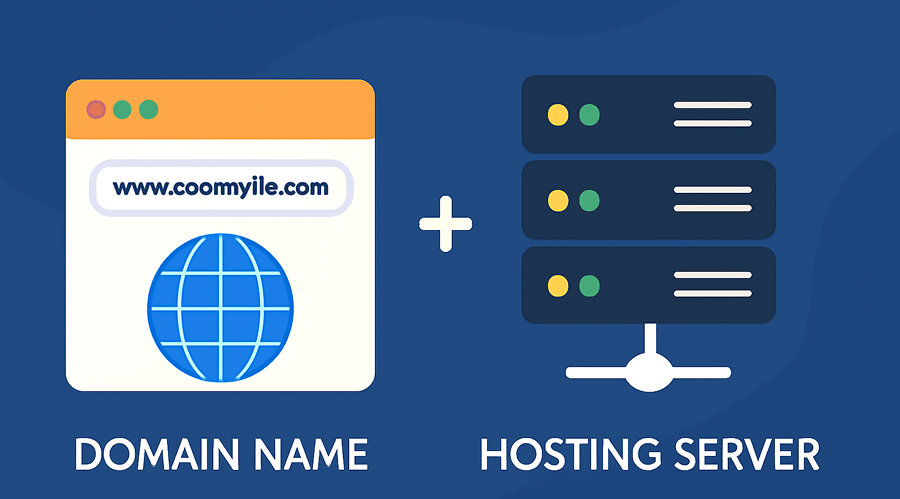
Before building your furniture website, you need a domain name (your website’s address) and hosting plan (the space where your website lives). Think of your domain as your shop’s name and hosting as the land it's built on.
Choose a domain that reflects your brand something clean, memorable, and ideally furniture-related. For example, urbanwoodfurnish.com or furnideck.com.
Popular hosting providers include:
- SiteGround– Known for performance and support
- Bluehost– Officially recommended by WordPress
- Hostinger– Affordable and beginner-friendly
Once you've purchased your domain and hosting plan, connect them together and install WordPress.
Step 2. Install WordPress on Your Hosting with a One-Click Installation
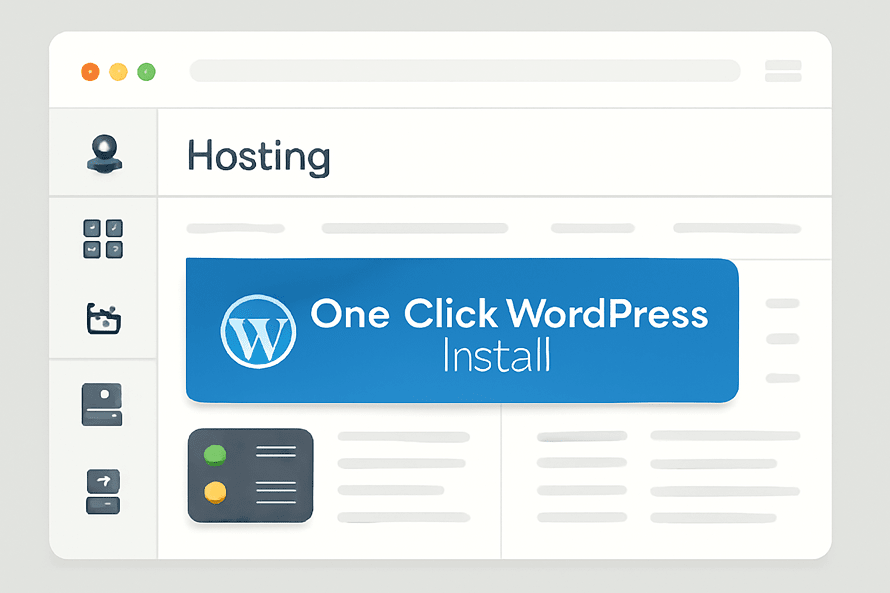
After securing your domain and hosting, it’s time to install WordPress, the engine that will power your furniture eCommerce site. Most modern hosting providers offer one-click WordPress installation through their dashboard. No technical skills required.
Here’s how it typically works:
- Log in to your hosting account:
Access your hosting control panel (cPanel or custom dashboard). - Find the WordPress installer:
Look for apps like “WordPress,” “Softaculous,” or “Auto Installer.” - Click Install:
Choose your domain, fill in basic site details (like site name and admin credentials), and hit Install. - Done:
Within a minute or two, WordPress will be live. You can now log into your site by visitingyourdomain.com/wp-admin.
One-click installation removes all the hassle and gets your website up and running fast, so you can focus on designing and selling with the Furnixar WordPress Theme.
Step 3. Install the Furnixar Theme
Now it’s time to bring your furniture website to life with the Furnixar WordPress Theme, a clean, modern, and feature-rich theme designed specifically for furniture stores.
Follow these steps to install the theme:
- Download the Theme ZIP File. After purchasing the Furnixar theme from ElectronThemes, download the furniture theme package to your computer.
- Log in to Your WordPress Dashboard Go to
yourdomain.com/wp-adminand log in using your credentials. - Upload and Install the Theme
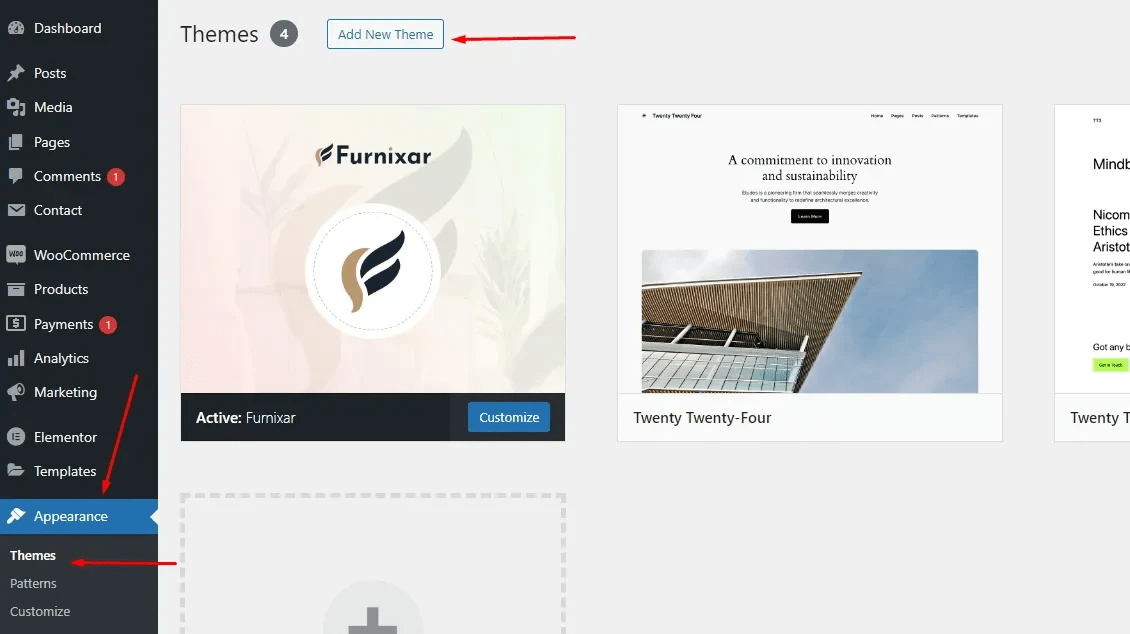
- Navigate to
Appearance > Themes - Click Add New, then Upload Theme
- Choose the
furnixar.zipfile and click Install Now - Once installed, click Activate
- Navigate to
How to Create an e-Commerce Website with Furnixar WordPress Theme
Install Required Plugins

After activation of the Furnixar theme, you’ll be prompted to install required plugins like Elementor, Furnixar Core, WooCommerce, Contact Form 7, and One Click Demo Import. Click Begin Installing Plugins and follow the prompts. After completing the installation of all plugins then activate them.
- Elementor– Drag-and-drop page builder for customizing layouts
- Furnixar Core– A custom plugin bundled with the theme for extra widgets and functionality
- WooCommerce– Powers your online store with product, cart, and checkout features
- One Click Demo Import– Helps you import Furnixar’s demo content instantly
- Contact Form 7– Easily create contact or inquiry forms
Step 4. Import Furnixar Demo Data
With the Furnixar theme and required plugins installed, the next step is to import the demo content. This gives you a fully designed website in just a few clicks, saving hours of manual setup.
Why import demo data?
Demo data loads the exact layout, pages, images, and settings from the Furnixar preview site. It’s the fastest way to kickstart your furniture store design.
How to import Furnixar demo content:
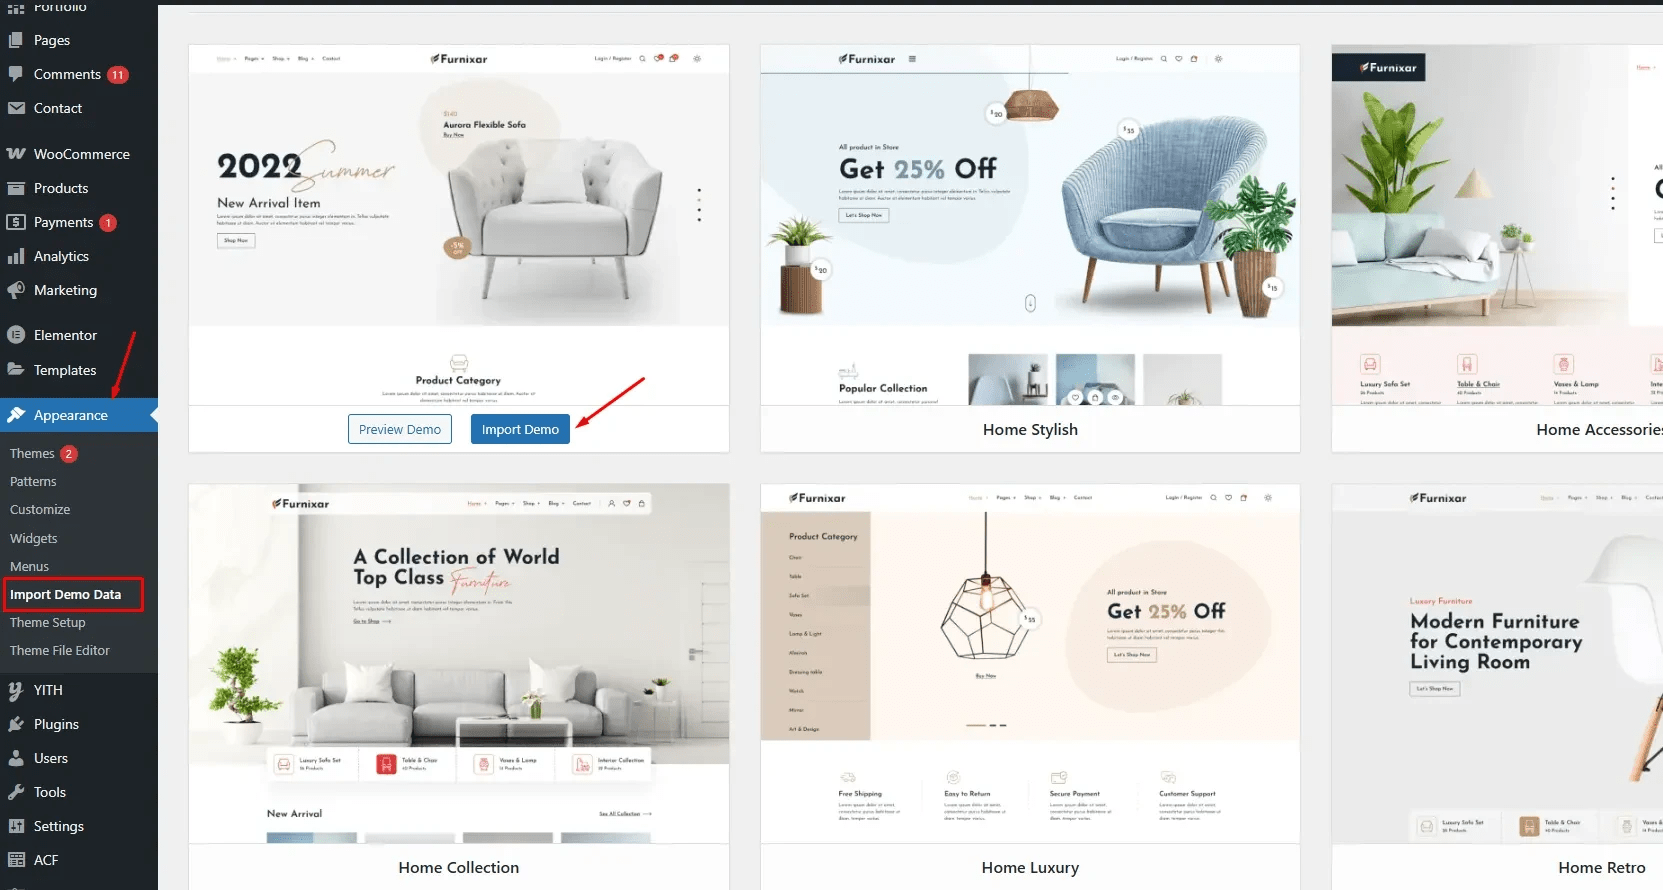
- Go to Your WordPress Dashboard Navigate to
Appearance > Import Demo Data - Click “Import Demo.” You’ll see a preview of the available demo layout. Click Import and wait a few minutes.
- Done! Once finished, your site will look just like the Furnixar demo with homepage, product pages, shop layout, and all sections pre-built.
Now you can replace the demo content with your own products, images, and text without building everything from scratch.
How to Create an e-Commerce Website with Furnixar WordPress Theme
Step 5. Customize Your Furniture Website
Now that your site is set up with the Furnixar demo content, it’s time to transform it into your own unique online store. Customizing your website lets you showcase your brand’s personality and make your furniture collection shine.
Where to start customizing?
- Customize the Homepage and Pages: Furnixar themes are integrated by default Elementor page builder, you can easily drag, drop, and edit sections on your homepage and other pages. Change images, text, colors, and layouts without any coding.
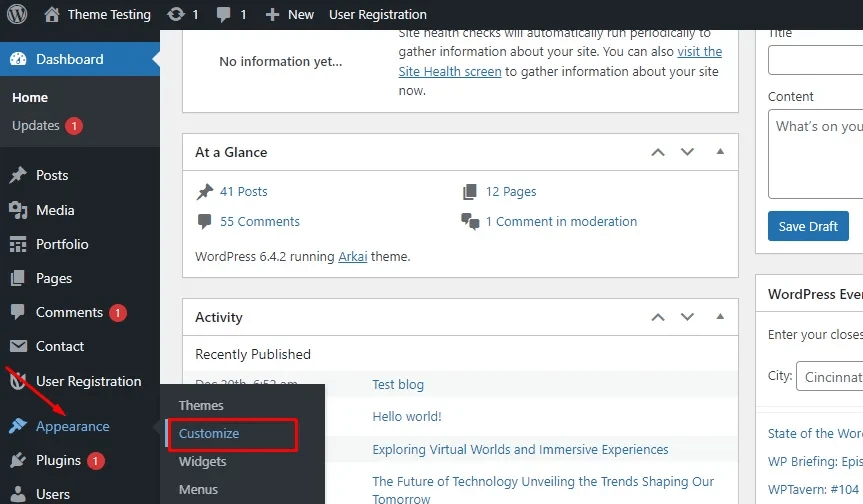
- Add Your Logo and Brand Colors: Go to Appearance > Customize to upload your logo, adjust your site’s color scheme, fonts, and typography to reflect your brand identity.
- Edit Product ListingsReplace demo products with your own furniture items by going to WooCommerce > Products. Add detailed descriptions, prices, and high-quality photos to attract customers.
- Customize Menus and WidgetsOrganize your navigation menus and add useful widgets like search bars, featured products, or social media links to your sidebar or footer. You can also enable product or blog sharing on single product pages and blog posts to increase exposure and drive organic traffic.
How to Create an e-Commerce Website with Furnixar WordPress Theme
Key Pages to Include:
- Homepage: Highlight bestsellers, categories, and promotions
- Shop Page: Showcase your product catalog with filters and sorting
- Product Detail Page: Include size, materials, reviews, and gallery views
- About Page: Tell your brand story with visuals
- Contact Page: Add Google Maps, contact form, phone/email
- Blog: Share furniture design tips or interior trends
- Furnixar includes many more templates to fit your unique furniture store style.
Step 6. Add Your Products
Your furniture website won’t be complete without showcasing your products. Adding your items to the store is simple with WooCommerce, which comes bundled with the Furnixar theme.
How to add your furniture products:
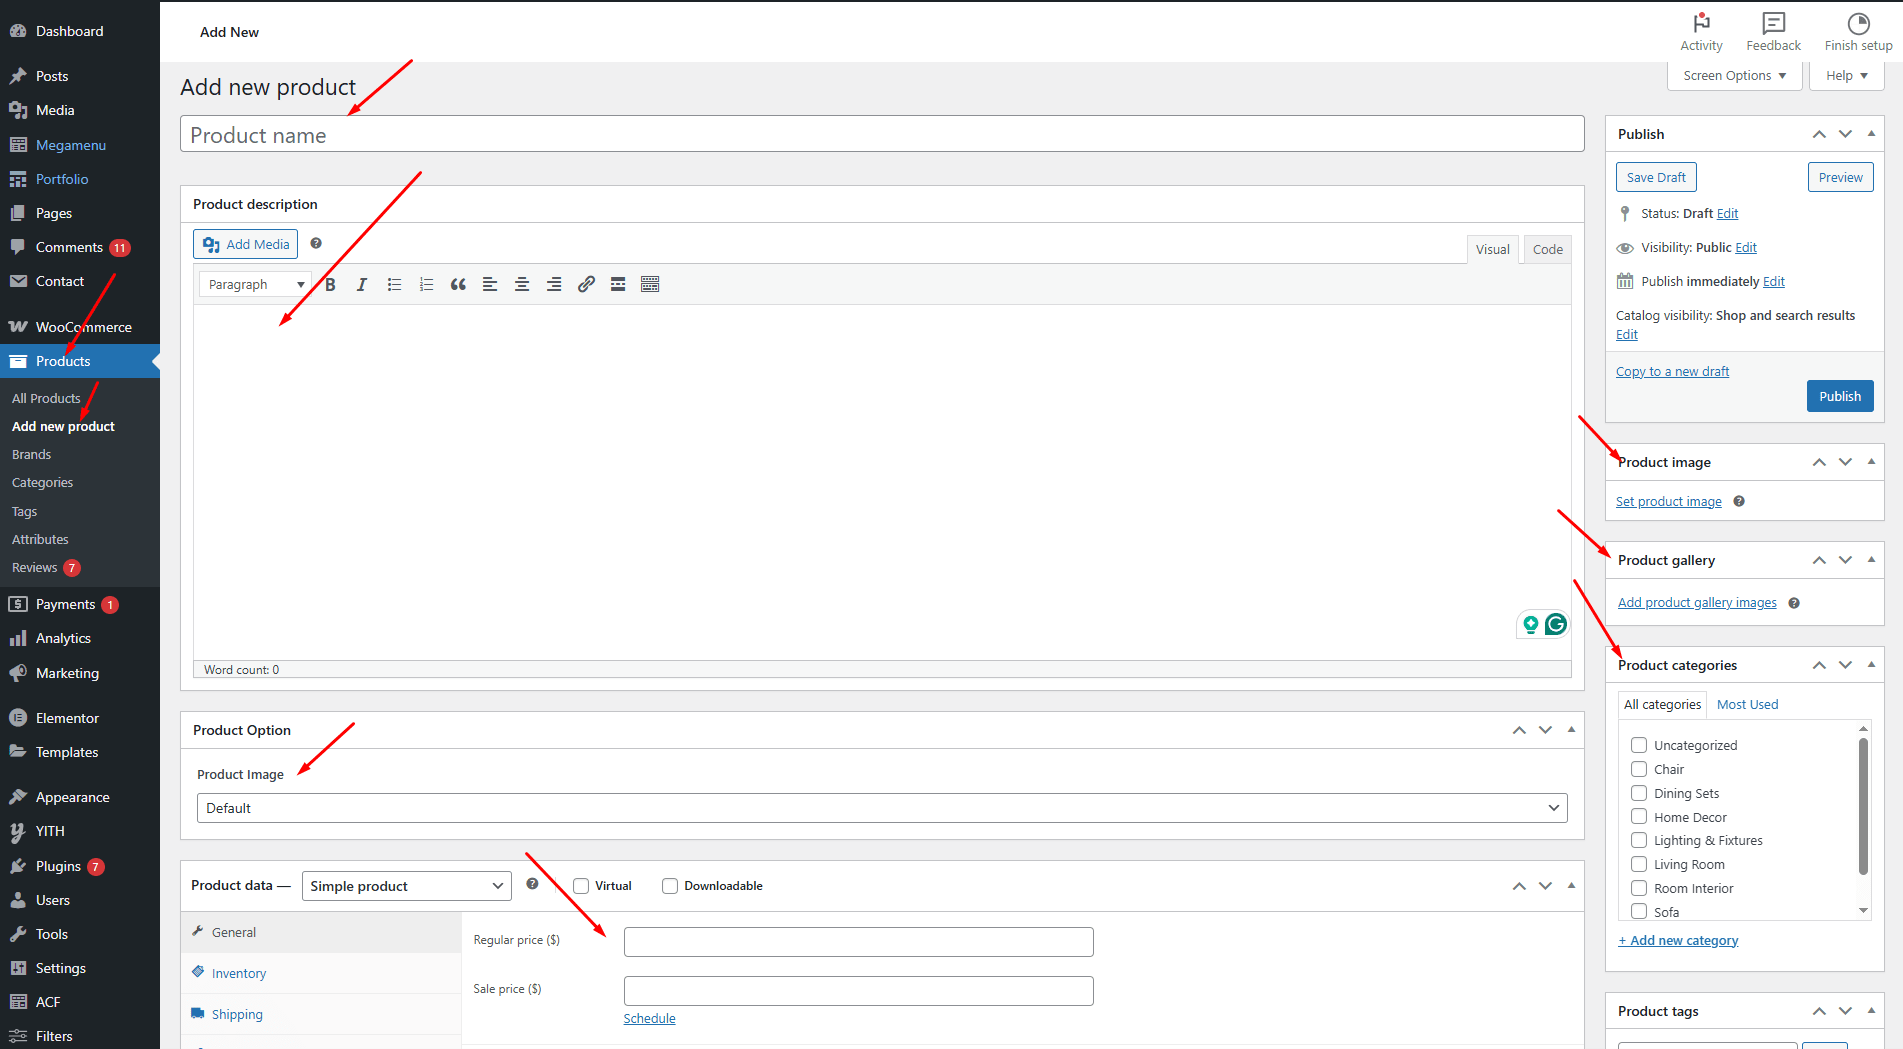
- Go to WooCommerce > Products in your WordPress dashboard.
- Click Add New to create a new product page.
- Enter the product name and a detailed description that highlights features and benefits.
- Upload high-quality images to showcase your furniture from different angles. Good photos boost sales.
- Set the price, SKU, and product categories to help customers find items easily.
- Configure inventory status and shipping details if needed.
- Choose product type (simple, variable, grouped) based on your offerings (e.g., different sizes or colors).
- When ready, click Publish to make the product live on your site.
Repeat these steps for each furniture item you want to sell.
How to Create an e-Commerce Website with Furnixar WordPress Theme
Step 7. Set Up Payment and Shipping
To start selling furniture online, you need to configure how customers will pay and how their orders will be delivered. WooCommerce makes setting up payment gateways and shipping options simple and flexible.
Setting Up Payment Methods:
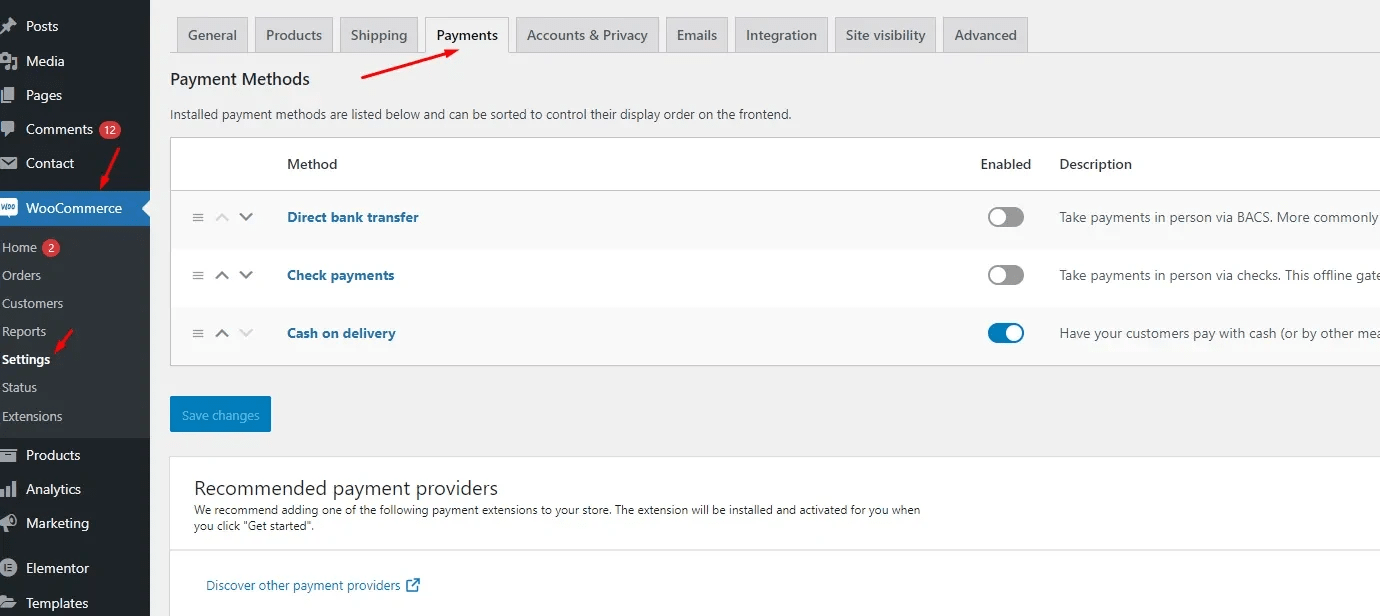
- Go to WooCommerce > Settings > Payments in your WordPress dashboard.
- Enable popular payment gateways like PayPal, Stripe, or Direct Bank Transfer based on what suits your business and customers.
- Click Set up next to each gateway to connect your accounts and configure settings.
- You can also enable Cash on Delivery if you serve local customers who prefer to pay on arrival.
How to Create an e-Commerce Website with Furnixar WordPress Theme
Configuring Shipping Options:
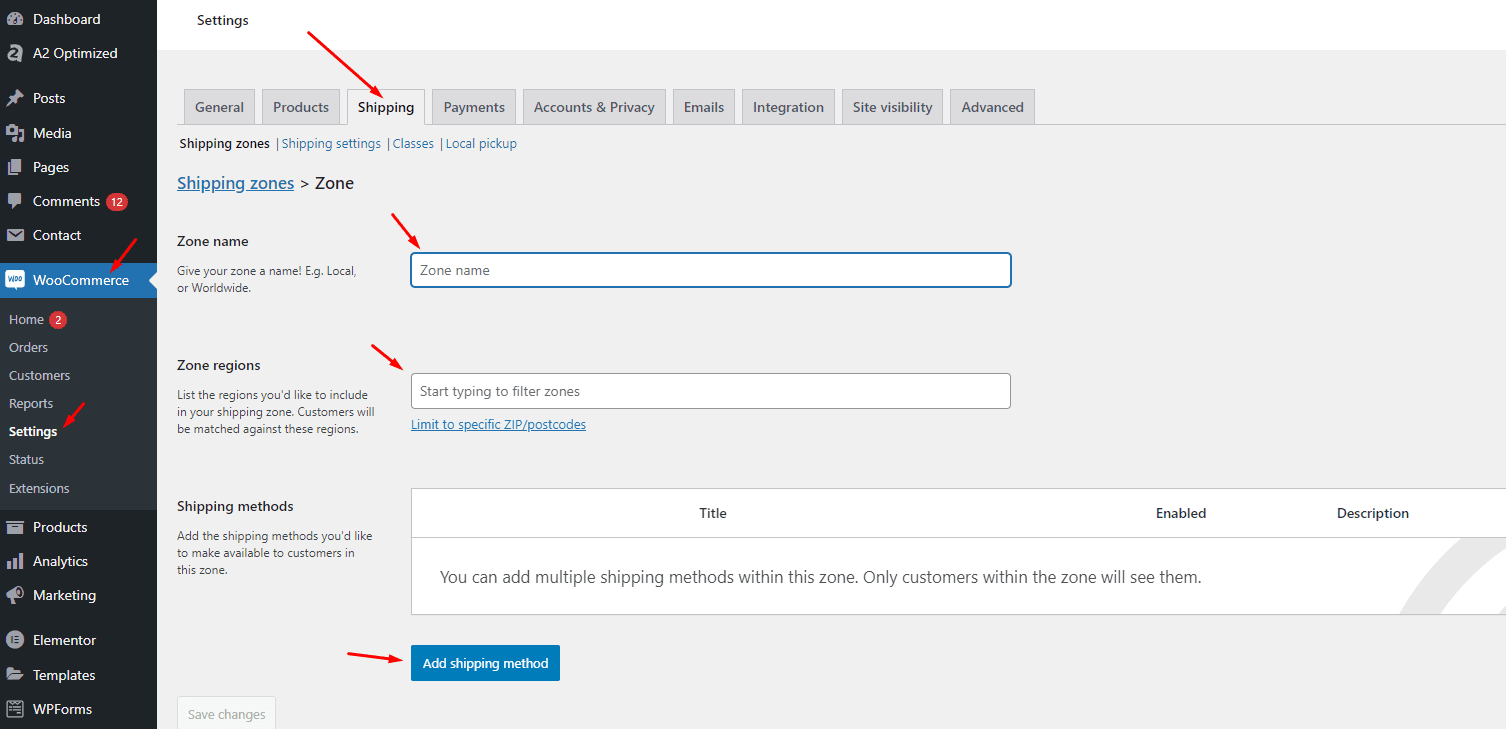
- Navigate to WooCommerce > Settings > Shipping.
- Create shipping zones based on regions you deliver to (e.g., local city, nationwide, international).
- Add shipping methods like Flat Rate, Free Shipping, or Local Pickup for each zone.
- Set shipping costs and delivery times clearly so customers know what to expect.
How to Create an e-Commerce Website with Furnixar WordPress Theme
Step 8. Optimize for Sales and SEO
To compete with the best websites to sell furniture, make sure your site is Optimize for Sales and SEO:
- Fast (use caching plugins and optimized images)
- Searchable (use Yoast SEO to add meta titles and descriptions)
- Trustworthy (display reviews, return policies, and shipping timelines)
Don't forget to set up product filters and search options to make browsing easy.
Why Choose the Furnixar WordPress Theme?
The Furnixar Furniture Theme isn’t just another generic template. It’s crafted with the specific needs of furniture sellers in mind. Here’s why it stands out:
- Modern design aesthetics that fit modern furniture websites
- WooCommerce integration for smooth e-commerce operations
- Built-in features for furniture website design, including galleries, mega menus
- Fully responsive layouts for mobile, tablet, and desktop
- SEO-friendly structure for better visibility in search engines
Wrap Up
If you're ready to sell online, now’s the perfect time to launch a website that reflects your brand’s style and craftsmanship. The Furnixar Furniture WordPress Theme empowers you to create a sleek, user-friendly, and sales-driven site, without needing to touch a single line of code.
From listing your products to managing payments and delivering a modern shopping experience, Furnixar makes it easy to build one of the best furniture store websites in today’s market.
Explore the Furnixar theme and bring your vision to life today!
Frequently Asked Questions (FAQs)
Find answers to common questions about how to create the best furniture websites with the Furnixar WordPress Theme. We've compiled everything you need to know in one convenient place.
Do I need coding skills to use the Furnixar theme?
No, Furnixar is built for non-coders. You can customize everything visually using the Elementor page builder.
Can I sell furniture directly from my website?
Yes! The theme is fully compatible with WooCommerce, allowing you to add products, take payments, and manage orders easily.
How do I import the demo content?
Furnixar comes with a one-click demo import feature. You can access it from the WordPress dashboard to instantly replicate the demo site.
Will my furniture website be mobile-friendly?
Absolutely. The Furnixar theme is fully responsive, ensuring your site looks and works great on all devices.
Can I use my own colors and fonts?
Yes, you can easily customize the entire look of your site — including colors, fonts, and layouts — without touching any code.
What if I need help setting it up?
Furnixar includes detailed documentation, and you’ll also get access to friendly support from the ElectronThemes team if needed.
Related Articles
- Top 20 Best WordPress Themes for Blogging Websites- Explore a collection of high-quality WordPress themes suitable for blogs, portfolios, and online stores, great inspiration if you want to expand your site.
- Optimize Core Web Vitals: WordPress Speed & Rankings- Learn how to improve your furniture website's loading speed, SEO, and user experience with real technical optimizations.
- How to Build Custom Forms with Free WordPress Plugins- Add custom contact, inquiry, or quote forms to your furniture store with no extra cost or coding required.
- Boost WordPress Speed Using Lazy Loading- Enhance your furniture website performance by implementing lazy loading for images and videos—essential for image-heavy e-commerce.

WordPress Expert
Biplob is a technical content writer and junior web developer passionate about creating engaging content and websites. He specializes in web technologies and loves exploring innovative solutions.
See all Articles